I’ve always found that following a clear guide can make the entire winemaking process much easier. From choosing the best fruits to knowing when your wine is ready to bottle, this step-by-step guide will help you every step of the way. Whether you’re a beginner or have some experience, you’ll find everything you need to start making your own wine.
In the following sections, I will walk you through the entire process, breaking it down into simple steps that anyone can follow. By the end, you’ll be well on your way to enjoying your very own homemade wine.
Preparing Your Equipment
Getting your equipment ready is crucial for successful wine making. Proper sanitisation ensures your wine isn’t spoiled, and knowing what tools you need can save you time and effort.
Sanitisation
Sanitisation is essential to prevent unwanted bacteria and yeast from contaminating your wine. I always start by thoroughly washing all equipment with warm, soapy water. Next, I rinse everything well to remove soap residue.
Using a food-grade sanitiser, I soak my equipment for the recommended time. For example, a common choice is a sulphite solution. It’s important to follow the instructions on the sanitiser. Don’t skip this step, as skipping proper sanitisation can lead to spoiled wine.
Also, remember to sanitise everything that will come into contact with your wine, including spoons, hydrometers, and funnels. Keeping your workspace clean is just as important. I always prefer sanitising before and after wine making to ensure everything stays clean.
Wine Making Kit Essentials
Having the right kit simplifies the wine making process. Here are the essential items I use:
- Hydrometer: A tool to measure the sugar content and potential alcohol level.
- Glass Jugs: For secondary fermentation, I use 3 to 5-litre jugs.
- Fermenter: A primary fermenter with an airlock is essential for fermentation.
- Siphon Hose: Used for transferring wine between containers without disturbing the sediment.
- Bottles and Corks: Properly cleaned and sterilised, usually glass bottles for storing the wine.
- Thermometer: To monitor the temperature during fermentation.
- Wine Yeast: Specific yeast strains for wine making, crucial for fermentation.
Having these essentials ready and clean helps ensure a smooth wine making experience.
Selecting and Preparing the Ingredients
Making wine at home starts with carefully selecting quality grapes, properly preparing the fruit, and managing the balance of sugars and acids to ensure good fermentation and taste.
Choosing Grapes
The type of grape you pick will largely dictate the flavour and quality of your wine. I find that using grape varieties like Cabernet Sauvignon or Chardonnay works well because they are commonly used in commercial winemaking and have predictable results. Make sure to pick ripe grapes as they contain the right amount of natural sugars needed for fermentation.
You should avoid using grapes with rot or mildew. These can spoil your entire batch. Organic grapes are a great option because they are free from chemicals that can interfere with the fermentation process. If you’re sourcing your grapes from a store, make sure they are fresh and haven’t been sitting out for too long.
Fruit Preparation
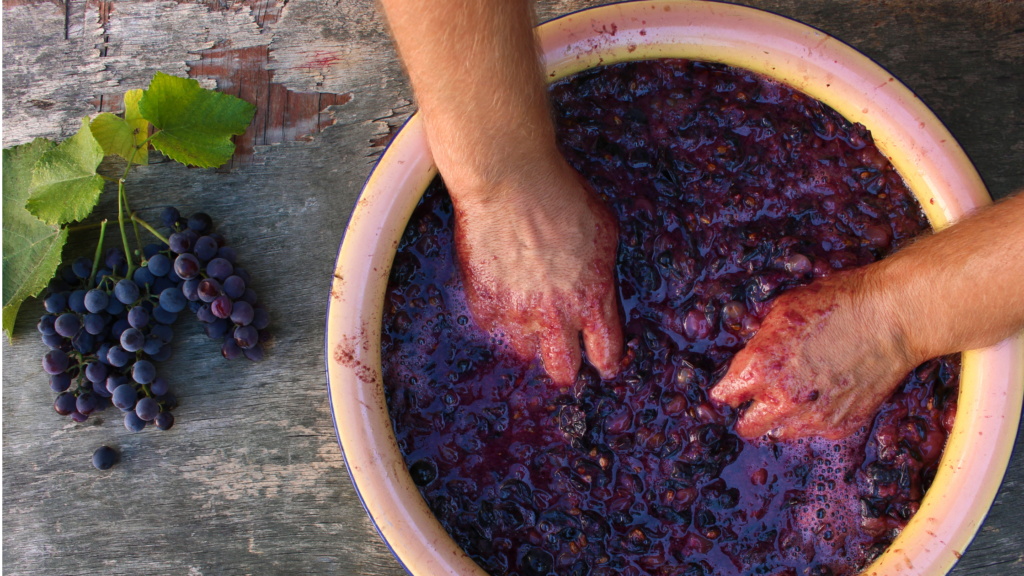
Proper fruit preparation is crucial. Start by thoroughly cleaning the fruit to remove any dirt or pesticides. I always take off the stems and leaves since these can introduce unwanted flavours into the wine. It’s also a good idea to rinse the fruit thoroughly to ensure it’s completely clean.
Once cleaned, you can peel the fruit if you want a milder flavour. I find that leaving the skins on contributes more to the final taste of the wine. Crush the fruit and put it in your fermentation vessel. This step is essential as it helps release the juices needed for fermentation.
Sugar and Acids
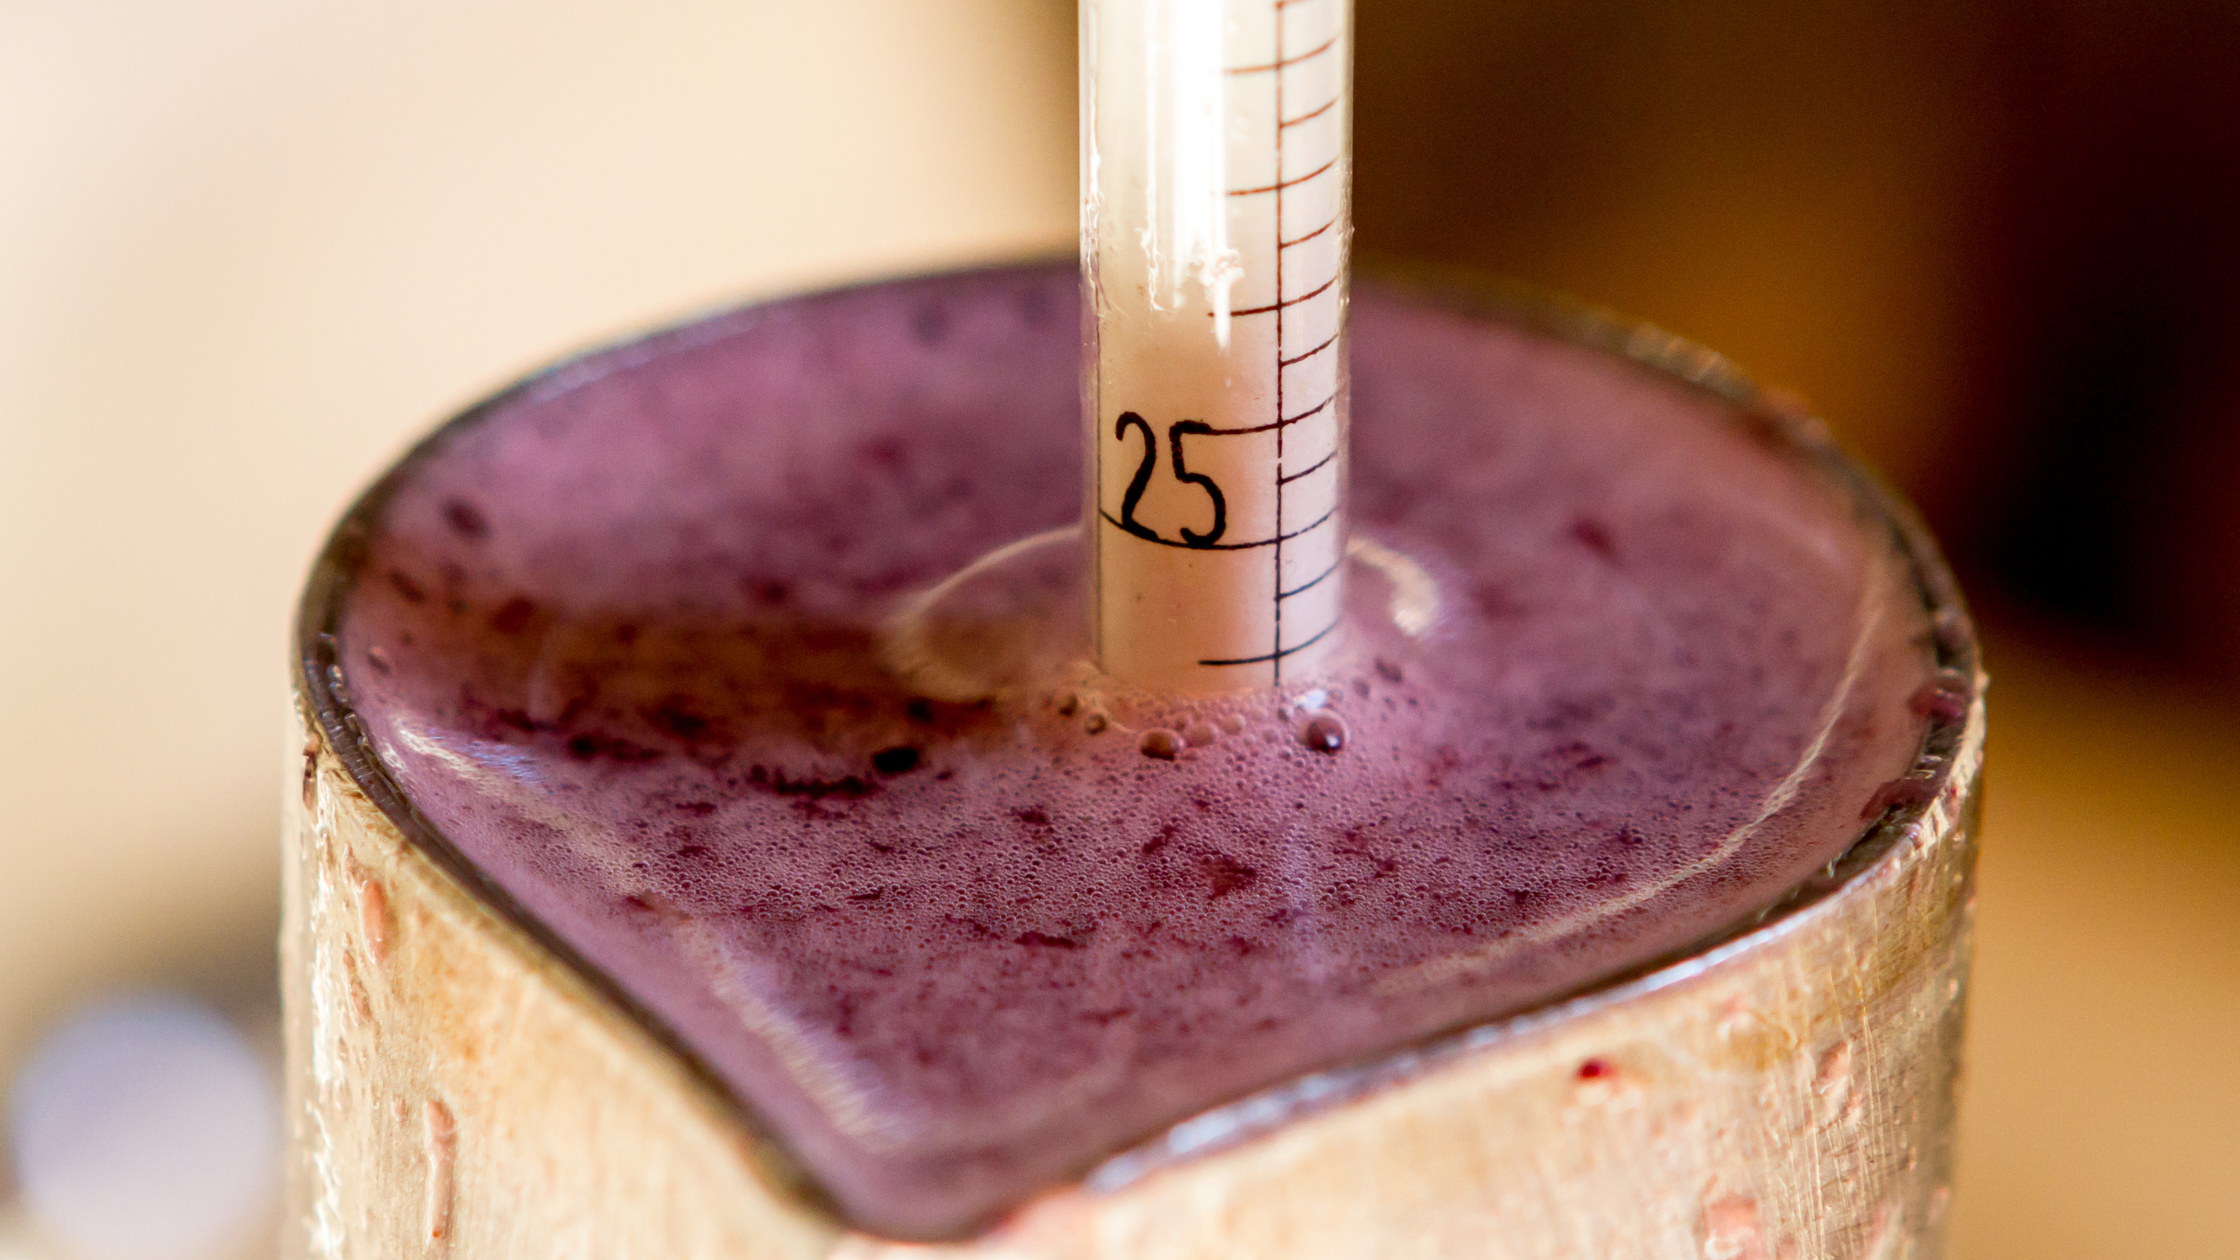
Balancing sugar and acids is key to good winemaking. Sugar is what yeast consumes to produce alcohol during fermentation. Depending on your fruit’s natural sugar content, you may need to add more sugar. Use a hydrometer to measure the sugar levels. A good starting point is around 24-26 Brix, which measures the sugar content in the juice.
Acids also play a big role in the flavour and stability of the wine. Too much acid can make wine taste too tart, while too little can make it flat. Adding ingredients like citric acid can help achieve the right balance. Always test the acid levels before and after adding sugar to make sure your wine will have a smooth balance.
By following these steps, you’ll ensure that your ingredients are of top quality and ready for fermentation. This will help you create a delicious and effective homemade wine.
The Fermentation Process
Fermentation is crucial in winemaking as it turns sugar into alcohol. Understanding both primary and secondary fermentation stages will help to achieve the desired flavour and alcohol content.
Primary Fermentation
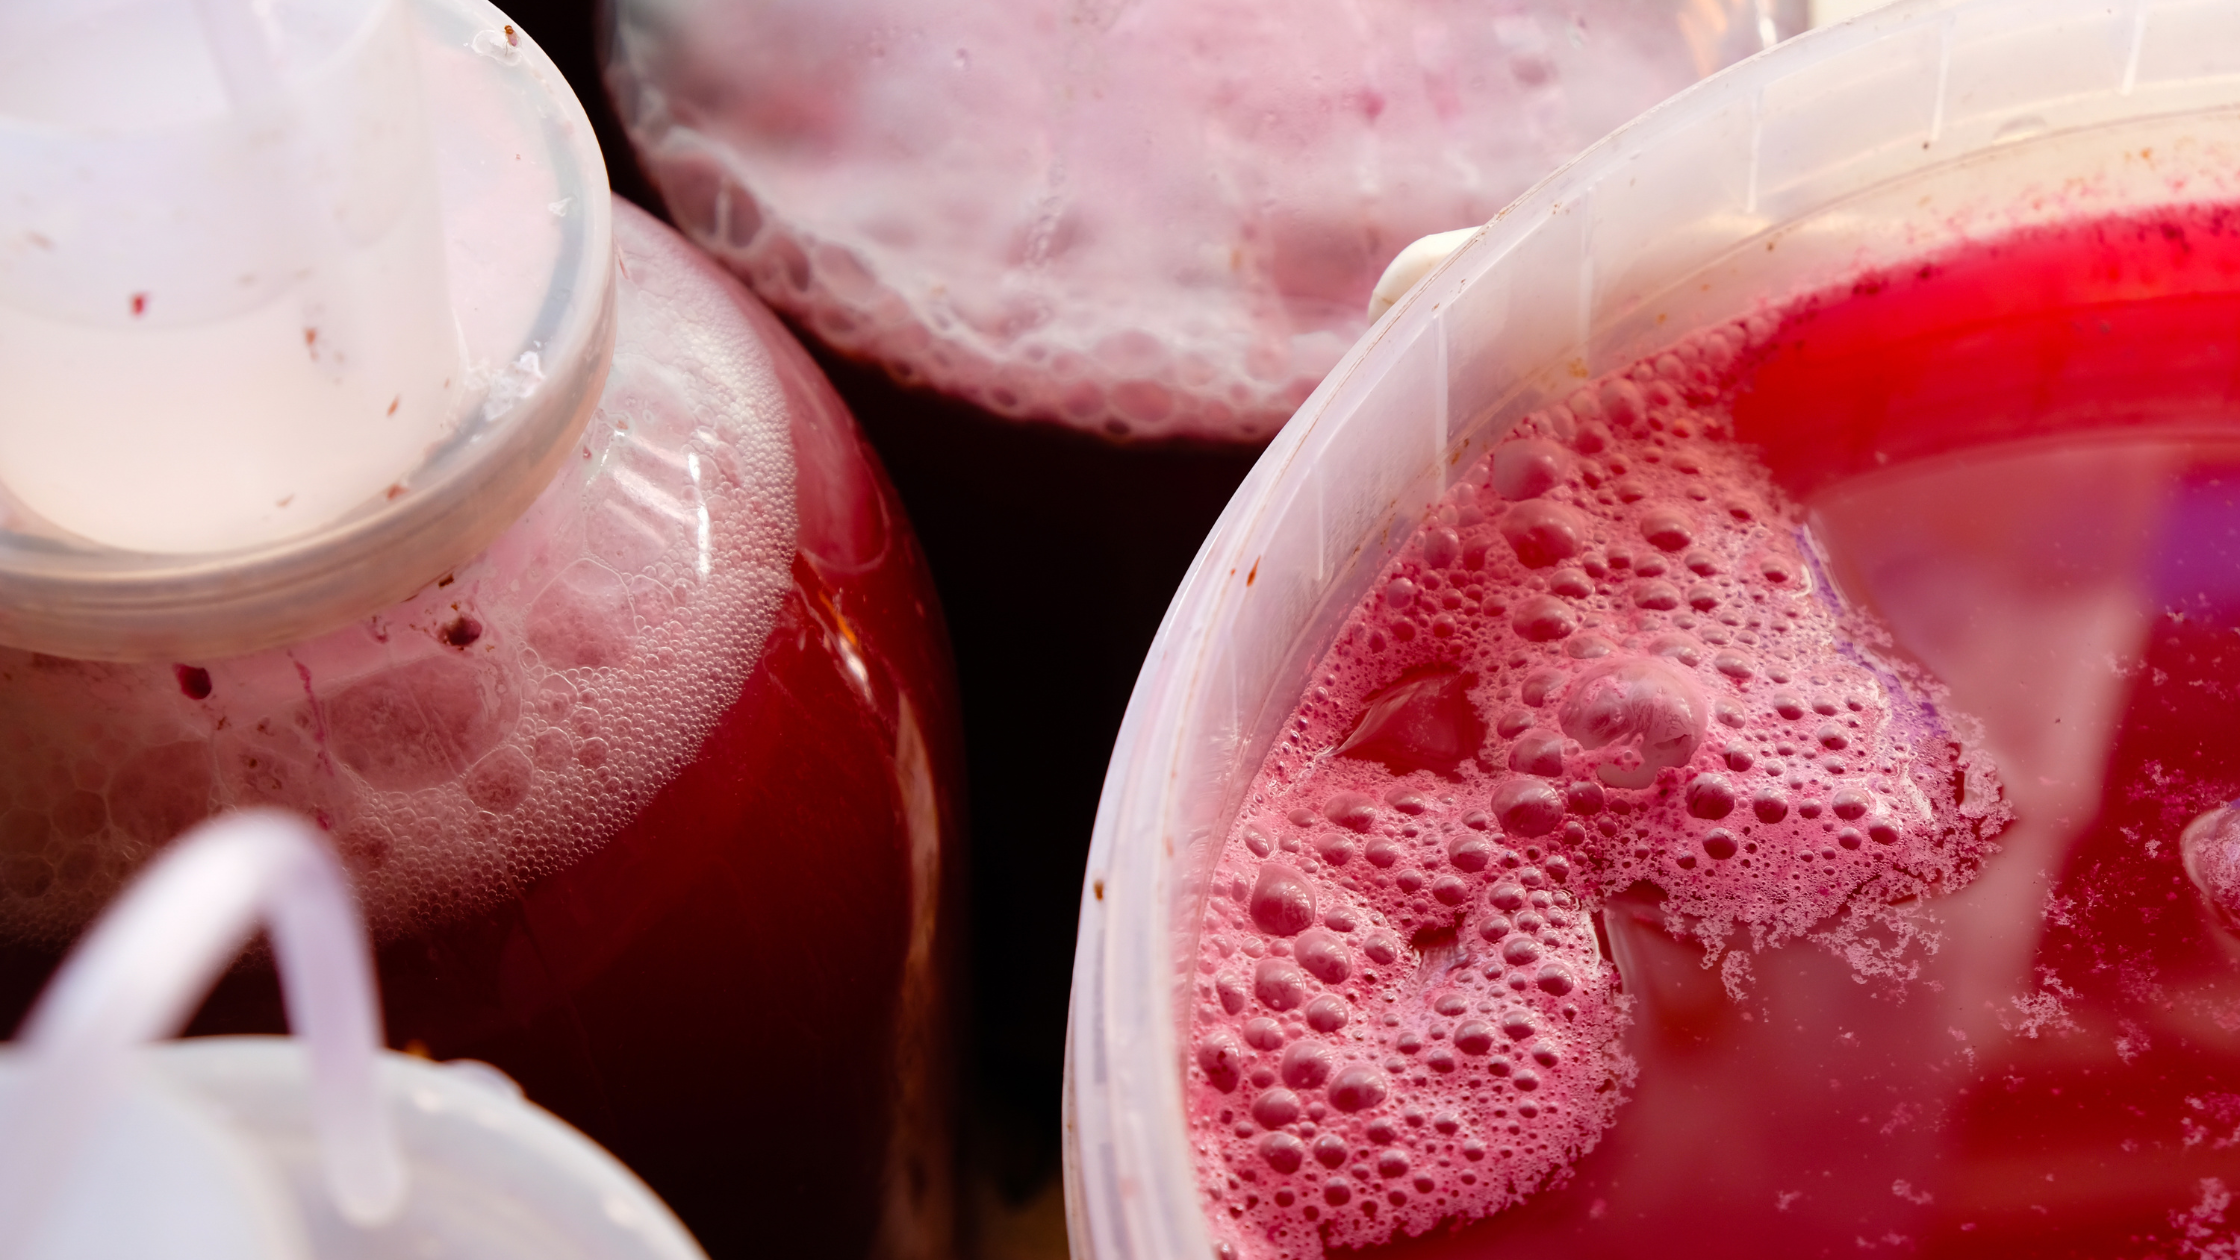
Primary fermentation begins once the grapes are crushed and yeast is added to the juice. The yeast consumes the sugar in the grape juice and converts it into alcohol and carbon dioxide.
Typically, primary fermentation lasts between 5 and 7 days. The temperature during this process ranges between 22°C and 28°C. It’s essential to keep the mixture regularly stirred to ensure even fermentation.
For the best results, monitor the process daily to check for the right level of bubbling and the sweetness. By the end of primary fermentation, most of the sugar should be converted into alcohol.
Secondary Fermentation
After the primary fermentation, secondary fermentation helps develop more complex flavours and further reduce residual sugar. This stage is crucial for refining the taste and texture of the wine.
The wine is transferred to a secondary fermenter, usually a glass carboy. This process can take several weeks to several months, depending on the wine type. Maintaining a lower temperature, around 15°C to 20°C, is essential during this phase.
Some winemakers add a small piece of oak dowel to enhance the flavour. Make sure to keep the levels high in the fermenter to minimise exposure to oxygen.
Monitoring Fermentation
Monitoring fermentation involves regularly checking the progress of both primary and secondary stages. Use tools like hydrometers to measure the specific gravity of the wine, which helps track sugar levels and alcohol content.
Taste the wine at intervals to ensure it’s developing the desired flavours. If any off-smells or excess bubbling occur, adjustments might be needed.
Ensure cleanliness and avoid contamination throughout the process. Properly sanitised equipment is key to producing good wine. Fermentation locks can help in preventing air from entering the fermenting wine while allowing carbon dioxide to escape.
Bottling and Ageing
To finish making homemade wine, I need to focus on siphoning, bottling, and ageing. These steps ensure the wine is clear, well-preserved, and has a great taste.
Siphoning Wine
Siphoning removes the wine from the fermentation vessel without disturbing the sediment at the bottom. This process requires a clear hose. I place the vessel on a raised surface and use gravity to move the wine through the hose into a clean container.
I avoid sucking on the hose to start the siphon to maintain hygiene. Instead, I fill the hose with sanitised water and use the weight of the water to start the flow. It’s important to keep the end of the hose above the sediment level to keep the wine clear.
Bottling
Once siphoned, I move the wine into bottles. I prefer glass bottles for their durability and ability to enhance the wine’s presentation. They should be clean and sanitised. I use a funnel to pour the wine into each bottle, filling it almost to the top but leaving a little space.
I cork the bottles immediately to prevent oxidation. Corkers can make this task easier and more efficient. Once corked, I wipe the bottles down and label them with the type of wine and the bottling date for easy identification later.
Ageing
Proper ageing develops the wine’s flavours and aromas. I store the bottles in a cool, dark place with consistent temperature and humidity to avoid spoiling the wine. A wine cellar or a dedicated wine fridge works well.
The ageing time varies based on the type of wine. Red wines might need ageing from a few months to a few years, while white wines typically need less time. Regularly check for any signs of spoilage, such as leakage or discolouration, and rotate the bottles occasionally to keep the corks from drying out.
By following these steps carefully, I can ensure that my homemade wine is clear, well-preserved, and flavoursome.
Troubleshooting Common Issues
When making homemade wine, several issues can pop up. Here’s how to handle some of the most common ones.
Stuck Fermentation
Fermentation can sometimes stop before the wine is fully fermented. This could be because of high alcohol levels or low temperatures. If the alcohol level is too high, it’s best to blend it with a lower-alcohol wine or increase the acidity to make it palatable. Keep in mind that restarting fermentation can be difficult.
Cork Taint
Cork taint, caused by a chemical called TCA, can give your wine a musty or moldy smell. To avoid this, use high-quality corks and store your wine in a cool, dark place. This simple step can help maintain the wine’s flavour and aroma.
Colour Issues
Sometimes, white wines can turn out too light. This might happen due to excessive fining or filtration. To fix this, avoid over-processing your wines and monitor your techniques to ensure the colours stay rich and appealing.
Bitterness and Astringency
Bitterness in wine can be tackled by using egg whites, isinglass, or gelatin. For egg whites, use the whites of half an egg per 5 gallons of wine. Whip them with a small amount of water and wine, mix it in, and then rack off after a few days. Follow the package directions for isinglass or gelatin.
Tips for Success
Sterilise Everything: Cleanliness is key. I always ensure that all equipment, like fermenters and bottles, are sterilised. This prevents any unwanted bacteria or wild yeast from spoiling my wine.
Use Quality Ingredients: Fresh fruits and quality yeast make a huge difference. I always opt for the best grapes or other fruits I can find. The quality of the ingredients will directly affect the taste of the wine.
Measure Ingredients Accurately: Precision matters in winemaking. I use a precise kitchen scale and measuring cups. This helps maintain consistency and results in a balanced wine.
Keep Records: I keep a notebook for every batch of wine I make. I record the type and amount of fruit, sugar, and yeast used, and note any adjustments. This helps me replicate successful batches.
Patience is Key: Wine takes time. I make sure to let my wine ferment completely and age properly. Rushing the process can lead to off flavours and spoilage.
Temperature Control: Keeping an eye on the temperature during fermentation is important. I use a thermometer to ensure my wine stays within the ideal range of 20-25°C.
Taste and Adjust: Midway through the process, I taste my wine and make adjustments if needed. Sometimes, I add more sugar or tartaric acid to balance the flavours.
Proper Bottling Techniques: When bottling, I use clean, sealed bottles and make sure to fill them properly. Leaving too much air space can oxidise the wine.
Label Your Bottles: I always label my bottles with the type of wine and the date it was made. This helps me keep track of my inventory and know when the wine is ready to drink.
Following these tips has helped me produce consistent and delicious homemade wine.
Conclusion
Making homemade wine is a rewarding process. By following the step-by-step guide, you can create a delightful beverage from the comfort of your home. I found choosing the right fruits and ingredients to be the first key step; quality ingredients will make a significant difference in the final flavour.
Sanitising all equipment thoroughly is very important to avoid any contamination. Cleanliness ensures your wine ferments properly. The fermentation process requires some patience. I allow the mixture to sit undisturbed for several days while the yeast works its magic.
After primary fermentation, I carefully transfer the wine to another container. This helps to remove any sediment and clarifies the wine. Bottling is the final step. I always make sure to leave a small space at the top of each bottle for cork expansion.
Making wine at home may seem complex at first, but with these steps, it becomes manageable. The result is a homemade wine that’s both delicious and satisfying. Enjoy the process and take pride in your homemade creation!
What has been your experience with making homemade wine? Have you faced any challenges along the way, or found a particular batch that turned out exceptionally well? Share your stories and tips below!
For more detailed recipes, tips, and personal experiences feel free to check out my blog!
Cheers!
Thanks for sharing. I read many of your blog posts, cool, your blog is very good.